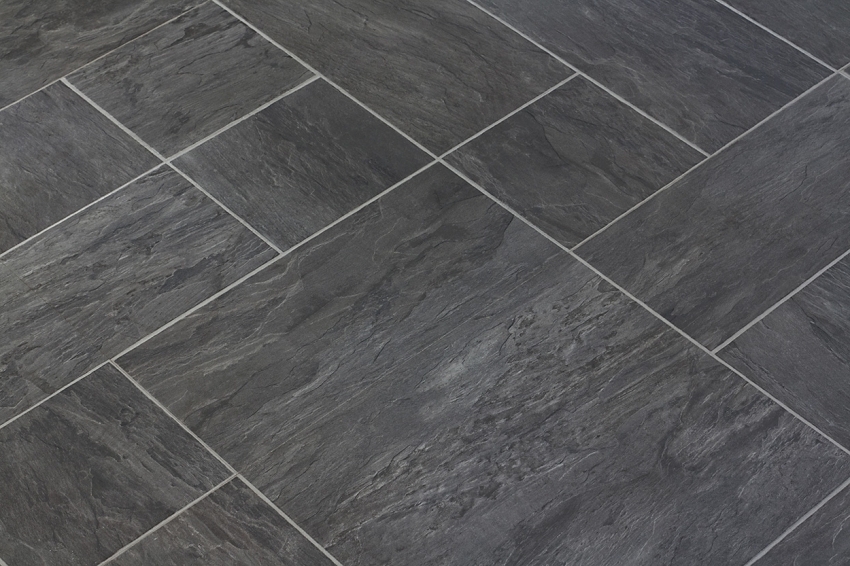
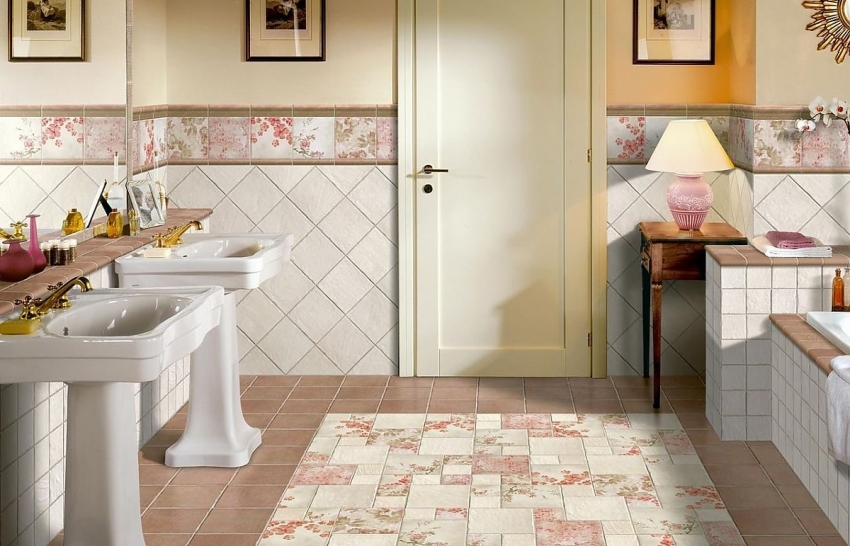
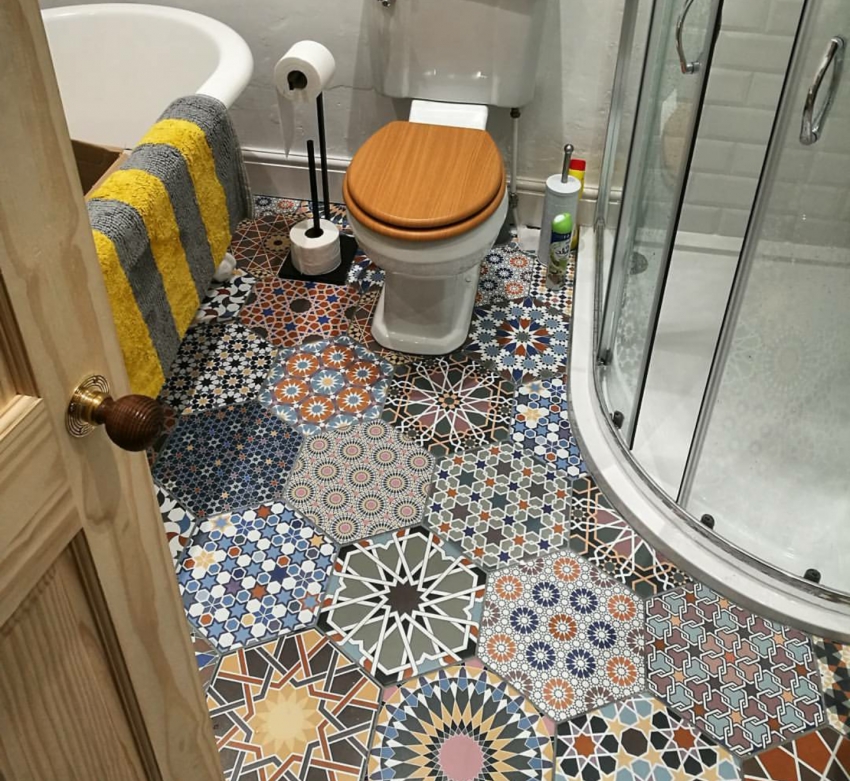
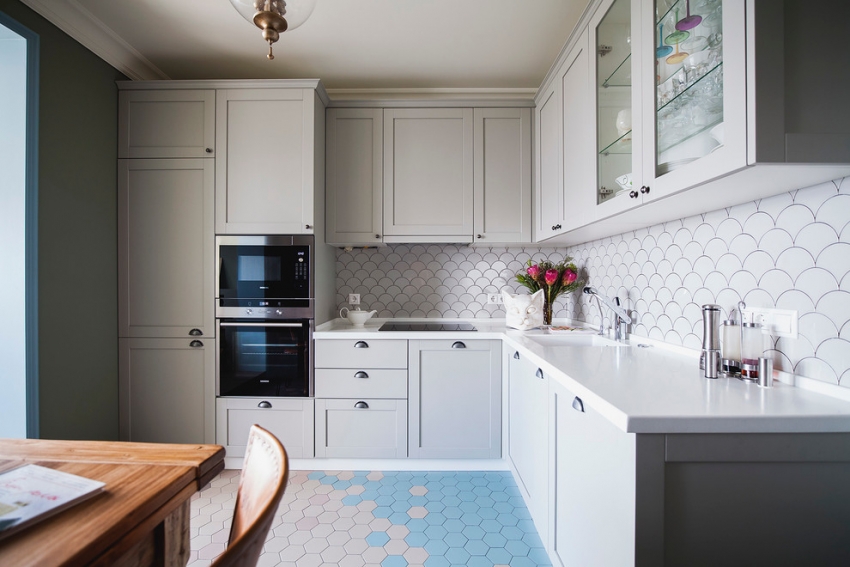
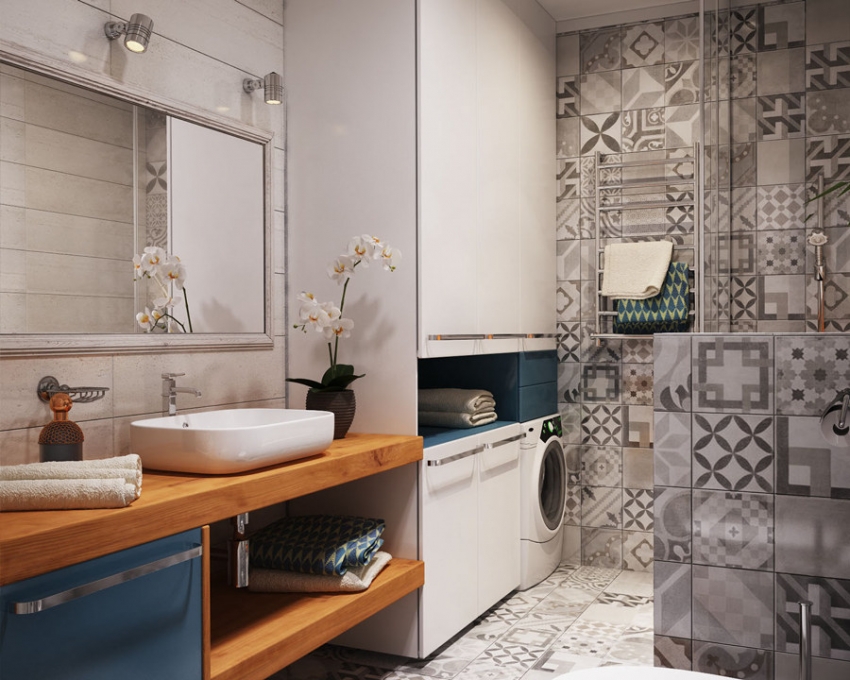
Laying tiles on the floor is an extremely popular solution for the decoration of many rooms. However, not everyone knows that tiles can be laid in various ways, and in the process of working with different bases, certain nuances must be taken into account. Consider how to lay tiles on the floor: installation methods, technology features and the specifics of choosing the right material.
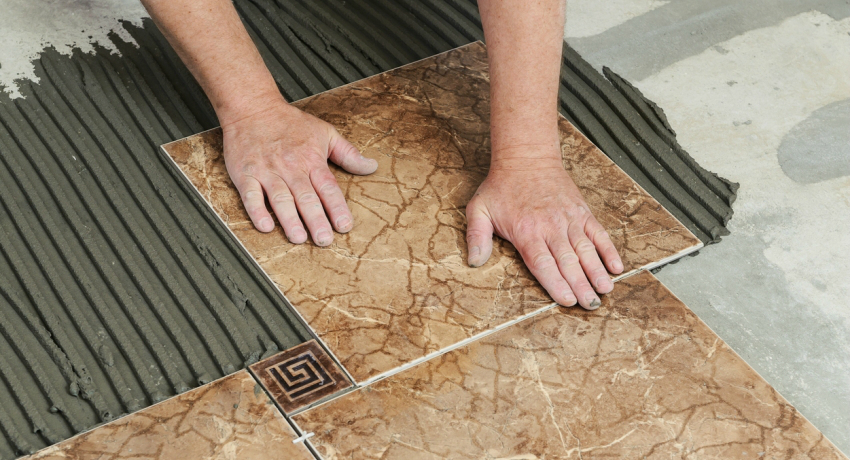
Before laying tiles with your own hands, you should familiarize yourself with the process technology and the recommendations of specialists
Content
- 1 How to lay tiles on the floor: installation methods and their detailed description
- 1.1 The traditional way of laying tiles on the floor: rules and features
- 1.2 How to lay tiles diagonally: the most beautiful way of laying
- 1.3 The technology of laying tiles on the floor with an offset (in a run)
- 1.4 How to lay tiles on a herringbone floor: options and technology
- 1.5 How to properly lay tiles on the floor: modular installation
- 1.6 How to put tiles on the floor in an original way: the "maze" method
- 1.7 Laying tiles on the floor "Deck": technology and features
- 1.8 How to lay floor tiles using the carpet method
- 1.9 How to install ceramic floor tiles using the "Kaleidoscope" method
- 2 Laying tiles on the floor: expert recommendations
- 3 The basics of choosing and laying tiles in accordance with the interior of the room
- 4 How to properly lay tiles on the floor: features of working with various surfaces
- 5 Rules for cutting and calculating tiles on the floor
- 6 Grouting tiles on the floor: what is it for
- 7 Tile floor care tips
- 8 Tile laying technology in the bathroom: video instruction
How to lay tiles on the floor: installation methods and their detailed description
Many owners devote a lot of time and attention to the choice of a suitable finishing material, focusing on its color, texture and size. Of course, it is extremely important to choose a tile of a suitable size so that it is commensurate with the room, but the question of choosing a laying method should also not be left out. Let's consider all the popular options.
The traditional way of laying tiles on the floor: rules and features
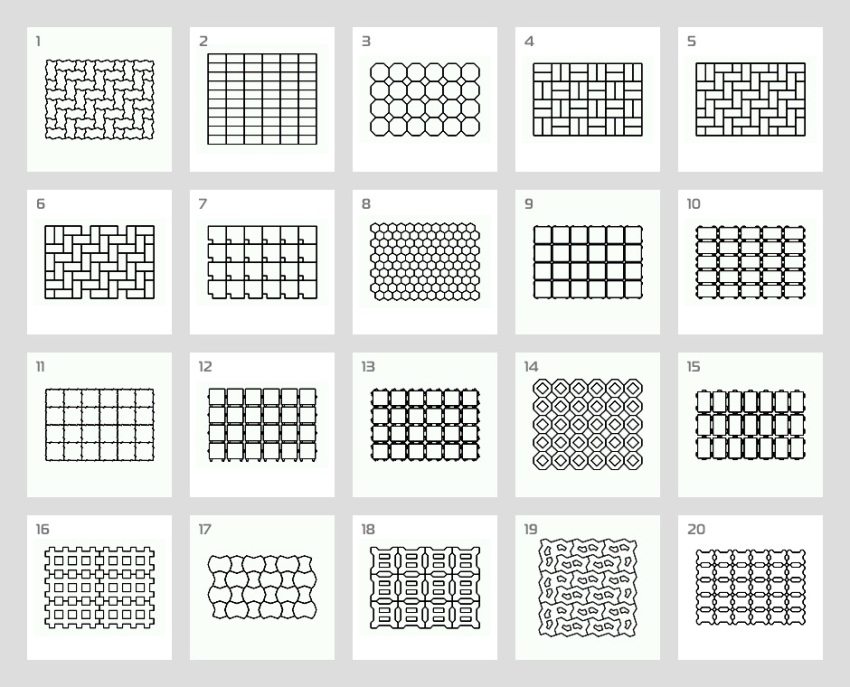
The traditional method got its name because it is used many times more often than all the others.This popularity is due to the ease of installation, as well as the ability to use both square and rectangular tiles. In this case, the elements are laid in even rows parallel to the floor. At the same time, it is extremely important to place them as tightly as possible to each other and maintain an even arrangement of rows.
Helpful advice! To give the traditional installation method an unusual look, you can use multi-colored tiles. This option will make the coating original, but at the same time it will keep the high speed of all the necessary work.
Despite all its simplicity, this method, like others, has certain nuances that must be taken into account even before the laying work is started:
- all defects, irregularities and other factory defects will be strongly noticeable if the tiles are laid in this way. Therefore, you need to either carefully inspect each element and eliminate the unsuitable ones, or choose another, less demanding method;
- if the cladding is made with tiles of the same color, then the coating will look rather monotonous. This is not to say that this is a drawback, but it should be taken into account;
- this option works well only for seamless ceramic tiles.
Although the laying of tiles on the floor in the traditional way can be done independently and in the absence of special skills, you still have to pay attention to the issue of evenness of the masonry, as well as the size of the joints (both vertical and horizontal).
How to lay tiles diagonally: the most beautiful way of laying
Laying tiles on the floor diagonally can rightfully be called the most beautiful of all options. But at the same time, the technology of its installation is the most complex, although at first glance it may seem that the basis is a simple traditional method. The main difficulty in this case is that it is necessary to accurately mark the diagonal axes, which will serve as landmarks for the layout of the tile.
Moreover, a lot of time and effort will be required to correctly cut the tiles, which also presents additional difficulties in the process of laying tiles in this way. However, thanks to this method, it is possible to hide almost any uneven surface. This option looks especially good when tiling the floor of small rooms.
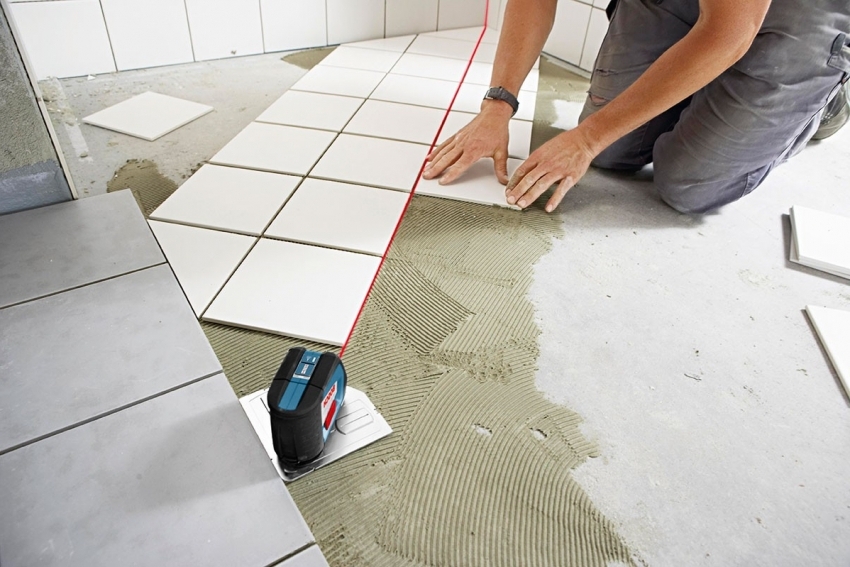
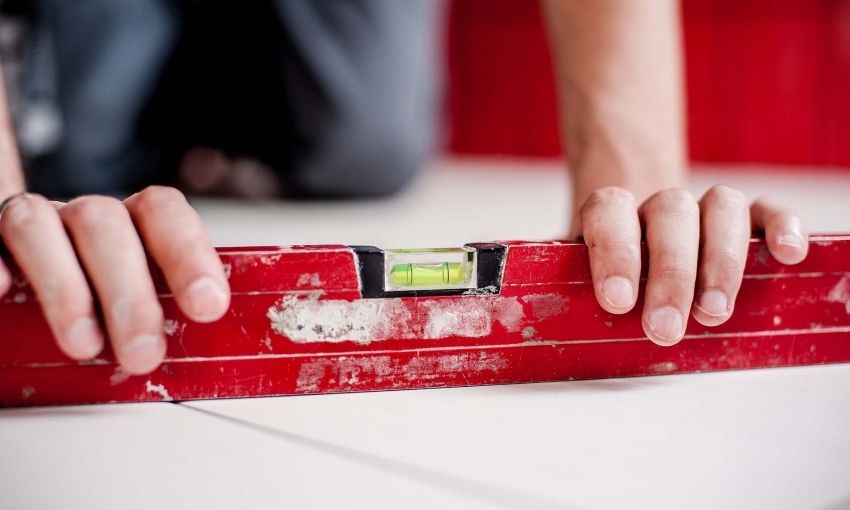
Laying tiles diagonally requires careful marking and periodic checking of the placement with a building level
Important! During the laying process, the grid of the pattern should be located at an angle of 45 degrees, so only square tiles are suitable for this method. This must be taken into account before laying the tiles in the bathroom yourself in this way.
It is interesting that the drawing itself is completely self-sufficient, and even with the use of a plain tile, it always looks extremely interesting. But before laying tiles in this way, you need to understand that in the process you always get a lot of scraps. And this may not please the economical owner who does not want to overpay for beauty, but if it is a question of the need to visually expand the room or hide irregularities, then this method is undoubtedly the best.
As already mentioned, the main difficulty of this method is the calculation of the diagonal scheme. In addition, a thorough surface preparation must be carried out by dismantling the old coating, removing paint residues and priming the base before laying the tiles. This way you will be able to arrange the tiles as evenly as possible by spending less glue on it.
The first row is laid in the traditional way using rectangular tiles. Moreover, the length of its diagonal should correspond to the diagonal of the square tiles that will be used as the main ones.The second row is laid using pre-prepared tile triangles. Then everything is quite simple - the rows are laid according to the principle of a diagonal layout in horizontal rows.
The technology of laying tiles on the floor with an offset (in a run)
Perhaps most of all, this method resembles brickwork. This solution looks original and is used quite often. In this case, a plain rectangular tile will look best, although you can often find the use of square tiles.
If you chose this option when choosing how to lay tiles in the bathroom, then with its help you can solve two more additional problems - hide minor defects, as well as make the floor design interesting and original. And with the right choice of color scheme, the tiles laid in a run-off can give the room a special atmosphere. According to the recommendations of experts, this method is best suited for decorating rooms such as a kitchen or a corridor.
As for the features of the very technology of laying tiles on the floor, it is important to know that the tiles must be laid in horizontal rows, and each element of the next row must be located so that its middle coincides with the seam of the previous row.
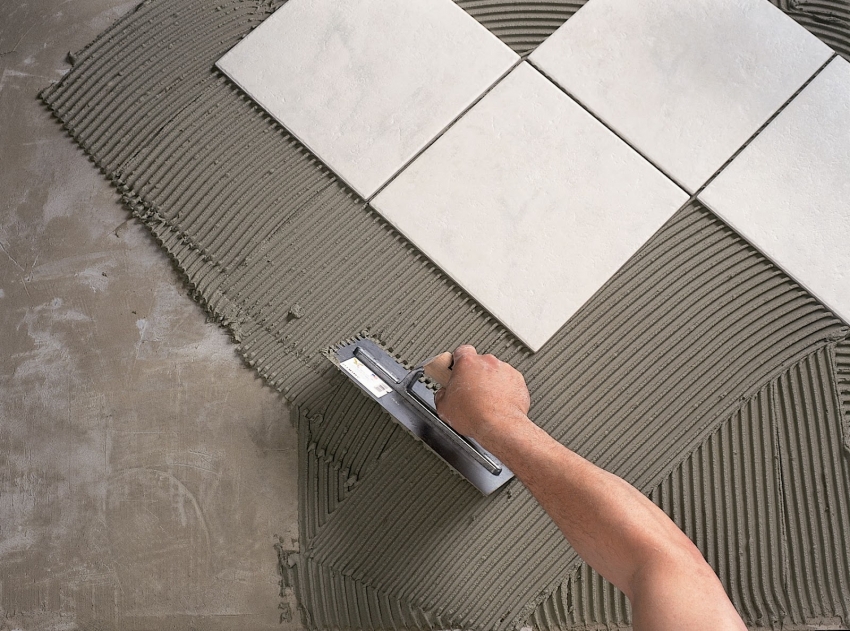
The technology of laying tiles on the floor with an offset requires the purchase of special adapters
Important! This is not to say that the laying procedure itself is something significantly different from the traditional one, however, there is one feature - the thickness of all seams must be the same.
As an unusual solution, you can consider examples when laying with an offset is made diagonally, that is, at an angle of 45 degrees relative to the wall. But in this case, it is extremely important to ensure that the surface is prepared in advance and is as even as possible. Otherwise, the desired effect will not be achieved.
You need to start laying with the location of the lighthouse plates in the corners of the room. So it will be possible to determine the level of the floor and correct the existing defects. After that, the screed is moistened with water and proceed directly to laying the tiles using the solution. They do it in rows and along the lighthouse.
Then the masonry is leveled with a hammer, and the lighthouse plates are removed. After complete drying, which can take from two to three days, the seams are filled with a liquid solution or cement.
How to lay tiles on a herringbone floor: options and technology
The herringbone flooring method is most often used for parquet. This option looks very unusual, especially if you use tiles instead of oblong wooden elements. Naturally, only rectangular tiles are suitable for this purpose.
There are two options for laying herringbone tiles:
- simple, which is no different from how it is done in the case of laying parquet;
- with an attachment, for which small-sized insert tiles are additionally used. Elements of a different color or mosaic are often used.
Considering that this method was originally intended for laying parquet, we can conclude that such a coating will look best if its surface imitates wood. But for a tile that looks like a stone, this option is not very suitable, since it looks rather unnatural in the end.
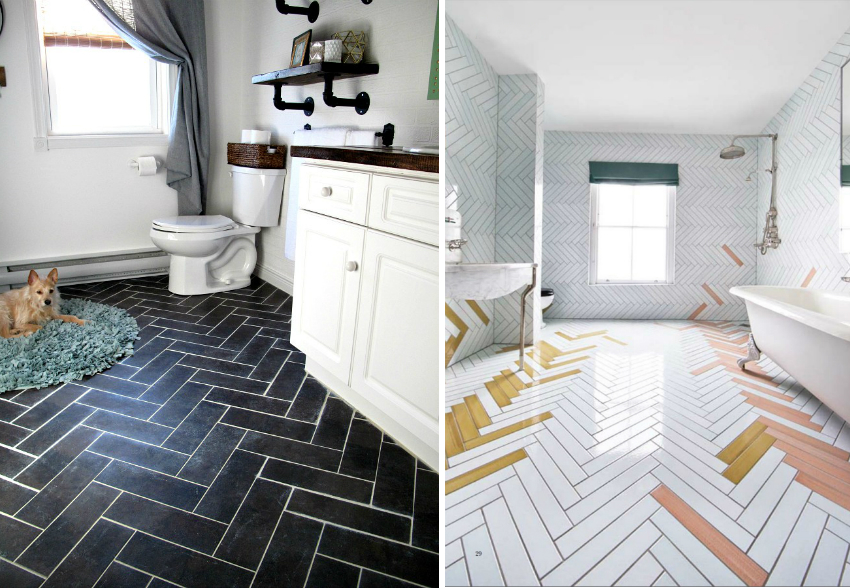
An example of the successful use of the ceramic stacking method bathroom tiles "Herringbone"
In order to obtain the desired result and lay the tiles with a “herringbone” pattern, it is necessary to turn the elements to the right or to the left during the installation process, depending on the diagonal arrangement of the tiles.The amount of waste in this case will be minimal, and the visual effect is stunning.
How to properly lay tiles on the floor: modular installation
Modular installation is an excellent solution for those who are new to working with tiles. At the same time, the method allows you to decorate the surface as the owner wishes. It is enough just to think about how to put the tiles in the bathroom on the floor, design a suitable pattern and carry out some necessary calculations.
A modular drawing will be an excellent solution for small rooms, especially since you can choose the appropriate color and pattern yourself, taking into account the peculiarities of the interior. It is advisable to make a drawing as accurate as possible, which includes an indication of the dimensions of the tiles, as well as the location of the joints.
Helpful advice! If you do not want to independently develop the project, you can purchase a ready-made tile set and a diagram that demonstrates in detail how to lay tiles in the bathroom with your own hands.
The simplest solution is to use a modular effect, when many small elements of different formats are depicted on one large tile. In this case, the main thing is to observe the principle of the model grid - the same drawing must be repeated many times. Considering this, you can independently decide how to lay out the tiles in the bathroom beautifully and original.
How to put tiles on the floor in an original way: the "maze" method
The "maze" method, or as it is also called "braiding", can be performed in various ways, but in the end it always gives the impression of intertwined stripes, inside which there is a square of a different color or shade.
In order to lay out the intertwining stripes of the pattern, you need to use rectangular tiles, and for the inside - smaller square elements.
Helpful advice! In order not to be mistaken with the size of the tile when buying, it is best to immediately fold one of the elements of the picture in the store. This way you can make sure all the elements fit together and work well together.
This method looks decent in any room, but when it comes to laying tiles on the bathroom floor, then this option can be called ideal. Even with a small area of \ u200b \ u200bthe room and the absence of a window, a correctly selected shade of yellow in combination with such a pattern can create a lighting effect and make the bathroom brighter and more comfortable.
Related article:
How to put tiles on a wooden floor: the subtleties of technology and recommendations
Stages of preparation and laying of tiles. Complexities and features of the process. Creation of the base and screed. Insulation and waterproofing of the coating.
You can also consider how to lay ceramic granite on the floor. Using this material, this drawing also looks very attractive.
Laying tiles on the floor "Deck": technology and features
The “Deck” method is undeservedly used in flooring not as often as others. Indeed, in fact, this method of laying the flooring perfectly imitates a deck board, which brings a certain mood to the interior. In this case, the tiles are laid with an offset and it is extremely important that the distance is the same over the entire surface of the floor, without exception.
You will notice that this method is somewhat similar to brickwork. This is true, except for the fact that the elements should not be displaced by half of each tile, but only by a small segment of it.
It is worth paying attention to the choice of color and structure of the coating.By giving preference to tiles that imitate wood and do not have an unglazed finish, you can create a very convincing semblance of a wooden floor.
How to lay floor tiles using the carpet method
"Carpet" is one of the most sophisticated options for laying tiles on the floor, which provides an opportunity to decorate a room in accordance with the theme of the interior, as well as your own preferences. The essence of this method is that two, three or more tile colors are used, as well as a border that frames this pattern around the perimeter.
How complex and beautiful "carpet" you can create depends solely on your imagination, as well as your skills in working with tools and materials. It is best to use this method on a fairly large area of the room, for example, in a hall or an impressive bathroom.
How to install ceramic floor tiles using the "Kaleidoscope" method
One of the most unusual ways to lay tiles in the kitchen is "Kaleidoscope". Just like the previous version, it allows you to independently come up with a pattern that will decorate the room. But sticking to the plan is extremely important here, since it is very easy to get confused in the elements. It is best to pre-outline the floor surface accordingly, thus making your work easier.
Important! Another difficulty with this method is the need to prepare a perfectly flat base in advance, since all irregularities will be very noticeable.
As you can see, laying tiles on the floor is an art that takes time and attention to detail to understand. So it is worth considering all the existing options, and having decided on your own capabilities and preferences, start implementing the chosen method of laying floor tiles.
Laying tiles on the floor: expert recommendations
Before proceeding to consider the features of laying tiles on various bases, it is worth familiarizing yourself with some of the recommendations provided by experts. According to the statements, taking these simple tips into account can significantly extend the life of the coating, making it as strong and reliable as possible:
- preparation of an even foundation is the main task to be solved;
- the prepared surface must be vacuumed again immediately before laying;
- the adhesive composition that will be used to fix the tile must be selected taking into account the humidity level in the room in which it is to be worked;
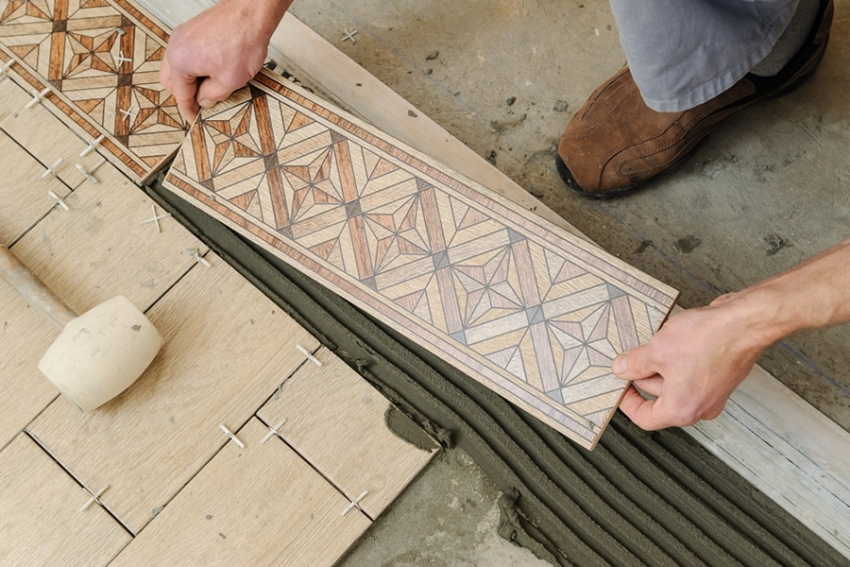
Front tiling in the bathroom should take care of the quality of the base
- for any method that is more difficult than the traditional or diagonal one, it is advisable to mark the floor;
- for complex patterns, the tiles must be cut in advance and then laid out on the surface of the floor covered with a cloth to see the result before starting to apply the solution;
- with a simple installation method, you can start from a corner, but in the case of most complex drawings, you need to find and mark the center of the room;
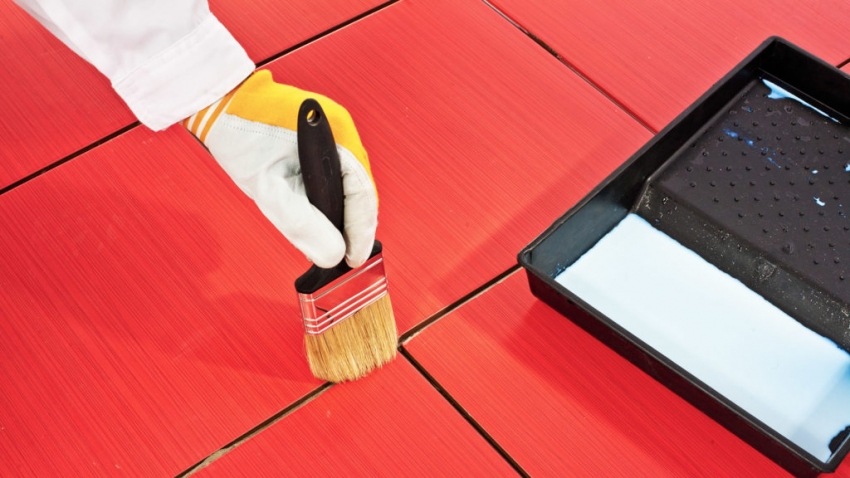
- liquid products waterproofing for pre-treatment of the base - ideal to provide the tile with a more reliable fixation;
- before proceeding to laying the tiles, you need to wait until the impregnation is completely dry;
- grouting of floor tiles can be started no earlier than the period indicated on the package, which is necessary for the glue to completely dry;
- Colour grout must match or match the color of the tile to create a single, beautiful floor covering.
The basics of choosing and laying tiles in accordance with the interior of the room
You can choose the most suitable tile option by looking at several examples of finished interiors using this material. At the same time, it is important to understand that in residential premises, tiles are almost always combined with a heating system, because otherwise, walking on the floor in the cold season will be quite uncomfortable. You need to read and watch additional training videos on how to properly lay tiles in a bathroom in which a floor heating system is provided.
When it comes to laying floor tiles in the living room, then a coating that looks like a laminate can be an ideal option. This is a suitable option for a modern interior that will harmoniously fit into any room size. In large rooms, it is better to give preference to calm, monochromatic colors, which will not make the floor too colorful and tiring to look at.
If you need to lay tiles on the floor in the bathtub, then due to the small area, it is permissible to use brighter and more original colors. Do not forget that the chosen color and texture of the coating can influence the perception of space. So, for example, a glossy surface of a light shade will expand the room, while a dark matte tile will do the opposite.
Before laying tiles in the kitchen, you should make sure that the selected material is not too easily soiled. In addition, slippery tiles should not be purchased, since the flooring in the kitchen is constantly exposed to contact with water, which can cause dangerous situations.
How to properly lay tiles on the floor: features of working with various surfaces
Having familiarized yourself with the various methods of laying floor tiles and choosing the option most suitable for yourself, you can safely proceed to familiarize yourself with the intricacies of the laying procedure. Considering the considerable cost of laying tiles per square meter, many people want to refuse the services of a specialist and do everything necessary on their own. To do this, first of all, you need to stock up on tools that may be required in the process of work:
- building level;
- a hammer;
- glass cutter, tile cutter or grinder;
- nippers;
- roulette;
- notched trowel;
- simple pencil;
- sponge and clean rags.
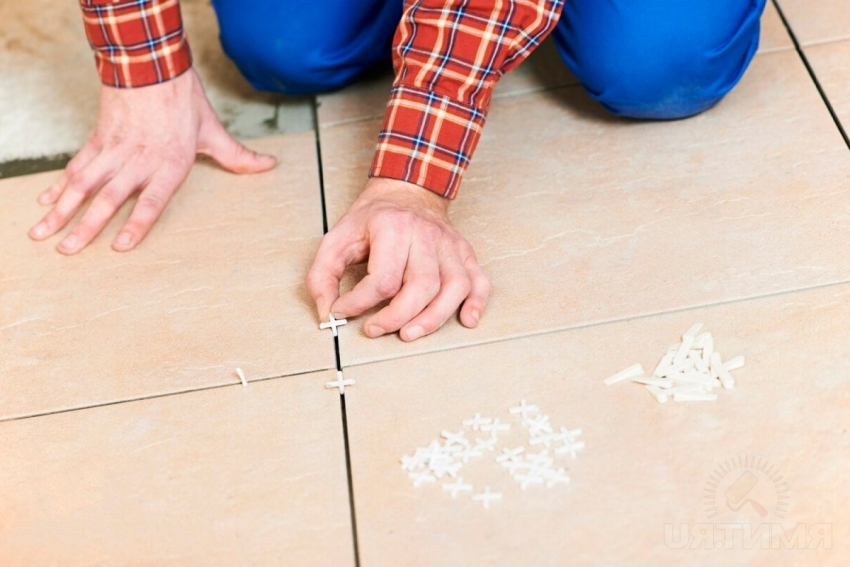
In order for the coating to serve for a long time, the level of laying and the thickness of the seams should be monitored.
Helpful advice! It is worthwhile to take care of the availability of personal protective equipment in advance and purchase, at least, safety glasses that will protect your eyes from the ingress of dust particles generated during the tile cutting process.
If during the installation process there is a need for shaped cutting, for example, to bypass a riser or heating pipe, then for this use a soldered drill made of hard alloy, as well as a wire with an abrasive coating.
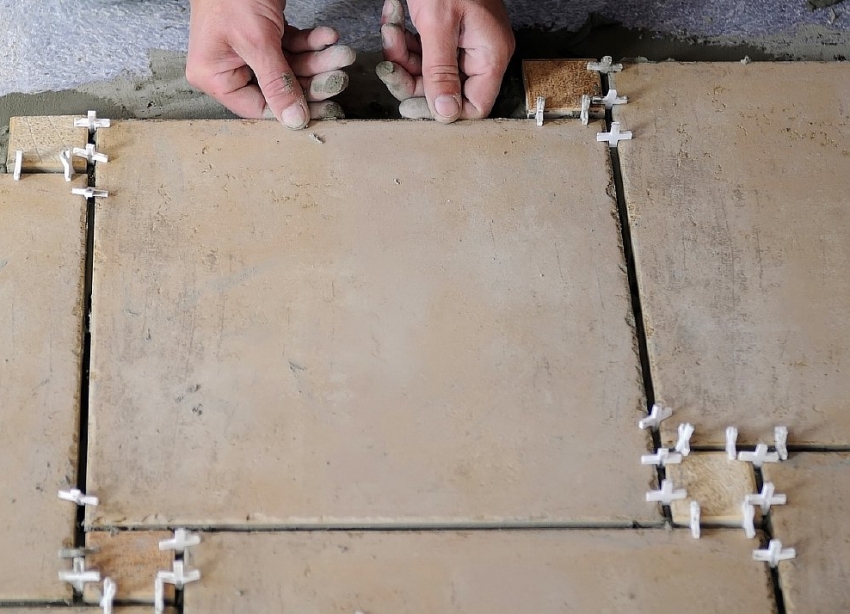
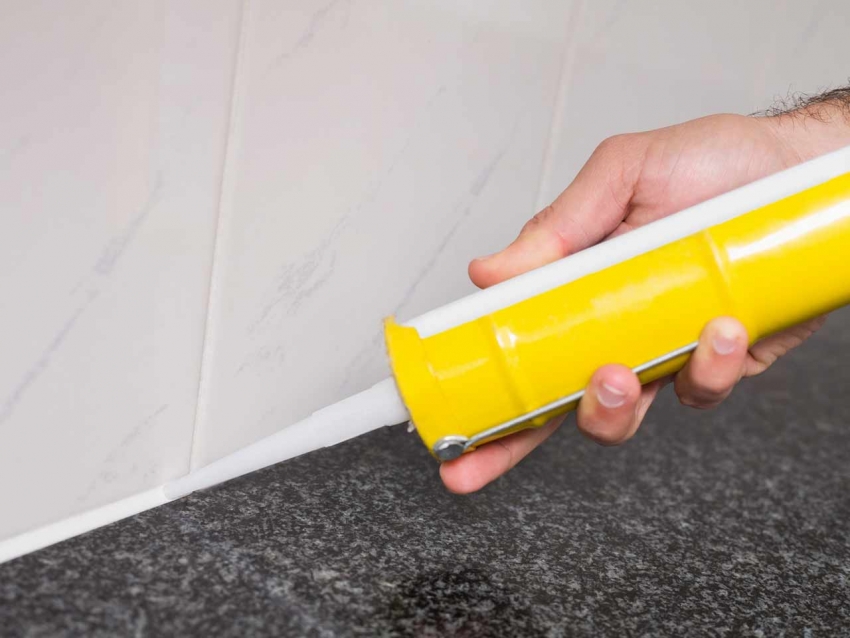
Also, in addition to the tiles, you need to purchase special crosses that are used as dividers, adhesive mixture for tiles, grout, as well as a sealant and silicone sealant. All this will allow you to put the tiles on the floor with your own hands.
How to properly lay tiles on a concrete floor: features of base preparation
The first point of the preparatory work that must be carried out before laying the floor tiles is dismantling the old coating and cleaning the surface from all existing stains: oil, paint, grease, etc. Then the existing base is checked using a building level, as well as a visual assessments: if there are significant damage, potholes, cracks or deviations in height, then a new cement-sand screed must be made.
It is important that the surface is rigid and as flat as possible before gluing the tiles to the floor. Otherwise, you will have to spend more glue on installation, and tiles laid on a soft base are much more susceptible to damage as a result of stress: cracks, chips and simply falling off.
After you have made sure of the quality of the old screed or made a new one, you should take care of laying a layer of thermal insulation material. This will reduce heat loss and reduce the consumption of resources spent on heating. Another option is to equip a heating system, which is the best solution of all.
In the second case, the thickness of the screed should be at least 40 mm, and for additional strengthening of the base, it is worth using a reinforcing mesh.
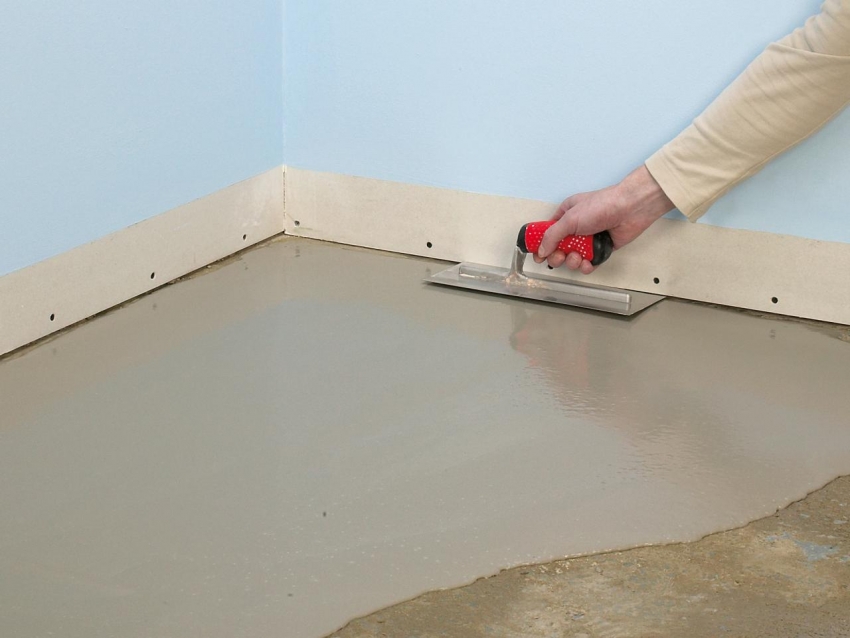
If the floor has significant defects, it is worthwhile to make a new screed for high-quality laying of the coating.
If the concrete base is in acceptable condition or for some reason it is impossible to make a new screed before laying the tiles in the bathroom, and you have to work with what is, then all the cavities can be smoothed out with cement mortar. But for the protrusions, it is best to use a chisel, with which you can relatively easily knock down interfering parts of the coating.
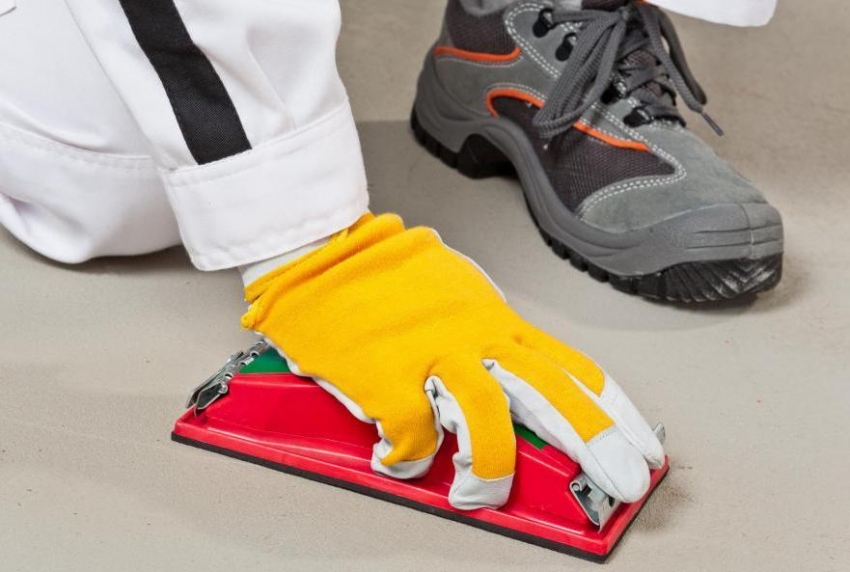
You can also use a sander for leveling. And in order to ensure reliable adhesion of the base with the adhesive, it is worth first applying a layer of primer.
All these preparation methods are relevant for concrete structures or monolithic slabs. But laying tiles on a wooden floor is also possible. Let's consider how it is worth installing in this case.
Laying tiles on a wooden floor: features of surface preparation
The same requirements are imposed on the wooden base, on which the tiles are to be laid, as in the case of concrete. First of all, the surface must be flat and solid. The presence of old, worn out or rotten boards is unacceptable, as it can lead to the fact that the tile covering at some point will simply fall through as a result of the destruction of the base. Therefore, all imperfect boards must be replaced.
Helpful advice! If a good, at first glance, board begins to "play" as a result of the load, then this defect can be eliminated by laying additional lags under it. Although in some cases a simple replacement of fastening elements (nails or self-tapping screws) with new ones helps. In any case, it is imperative to carry out an appropriate check before placing the tiles on the wooden floor.
Another way to install a solid and reliable tile base in the case of wood flooring is to use chipboard, OSB or plywood sheets. In this case, it is very important that the material is resistant to moisture.
In the process of laying such an additional layer, it is necessary to leave gaps of about 5-8 mm between the sheets in order to enable the material to compensate for changes in air humidity without deforming the surface. The lined sheets are attached to the base with self-tapping screws and opened with a layer of primer before placing the tiles on the wooden floor.
Considering the fact that the ceramic coating does not allow air to pass through and does not allow air to penetrate to the base, it is worth taking care of the presence of internal ventilation so that an environment conducive to the growth and reproduction of harmful microorganisms is not created inside. Thus, it is quite possible to put tiles on a wooden floor.The main thing is to pay due attention to the issue of preparing the base, and before putting the tile on the wooden floor, treat it with special protective equipment.
How to choose the right adhesive for laying tiles in the bathroom with your own hands
Regardless of the type of substrate, the installation method is always the same. But the choice of a suitable adhesive composition should be approached with special attention, since, depending on the surface on which it will be applied, its composition should be different. For concrete floors, cement based glue should be used. In order to prepare it, the amount of water specified by the manufacturer must be added to the finished dry mixture.
A completely different glue is used when working with a wooden base. In this case, the glue solution has the consistency of a mastic, which, among other things, is capable of compensating for deformations resulting from changes in the air humidity in the room.
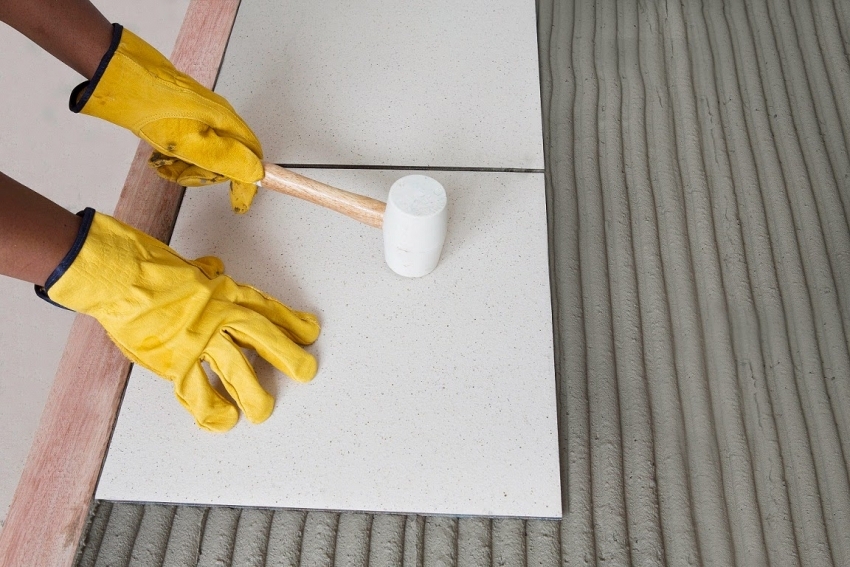
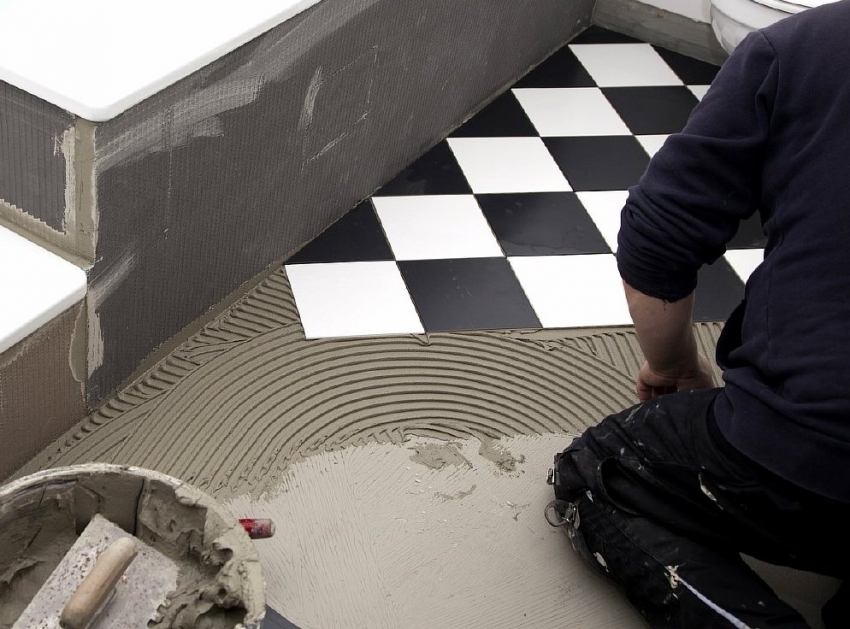
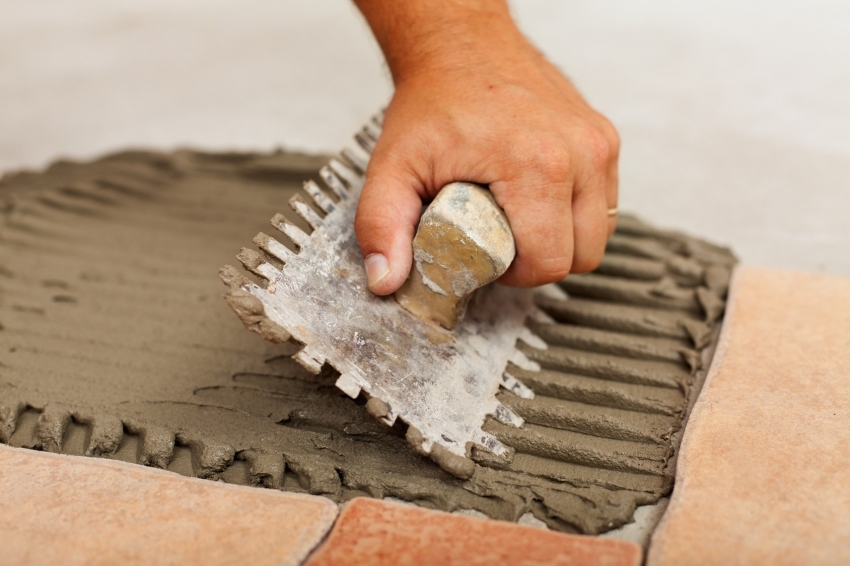
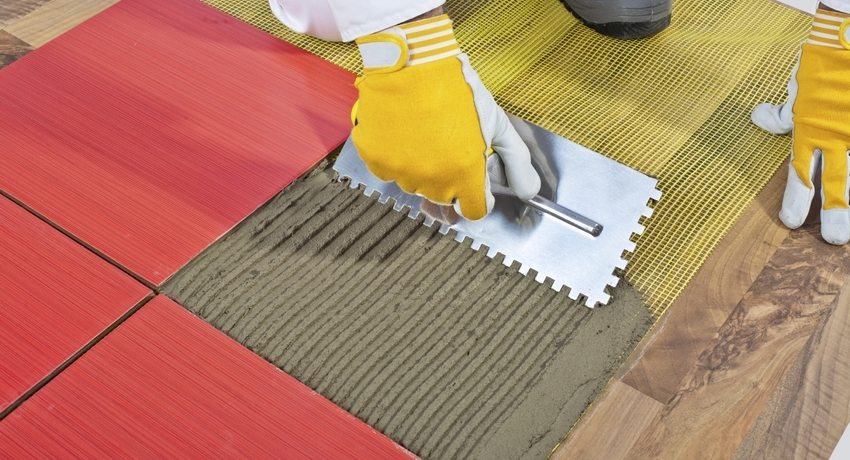
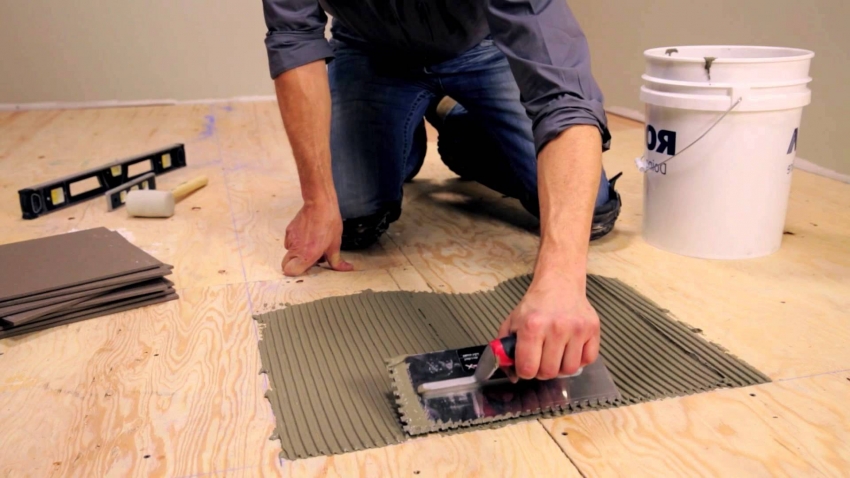
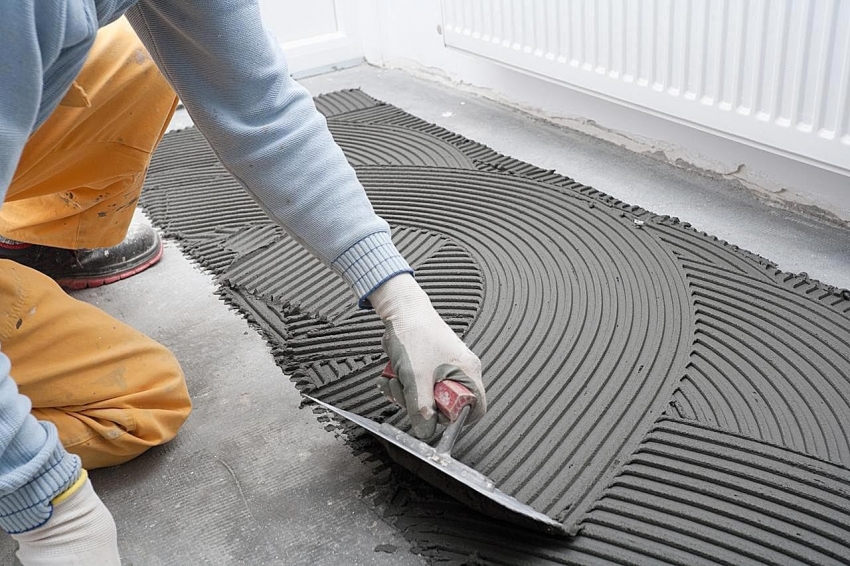
To apply glue it is necessary with a notched trowel on the back of the facing material. In this case, grooves should form on the surface. Then the tile is pressed against the floor surface and gently tapped with a rubber mallet. You can learn more about how to glue tiles in the bathroom using one or another method of preparing the mixture from the photo or video instructions.
Rules for cutting and calculating tiles on the floor
It is almost impossible to install tiles on the floor in such a way as to avoid trimming and adjusting the material. One way or another, the material has to be adjusted to the required size along the edges of the room or in places where heating or water pipes are located. Particular attention should be paid to how to lay the tiles in the toilet, because in this case, even more difficult tile trimming will be required.
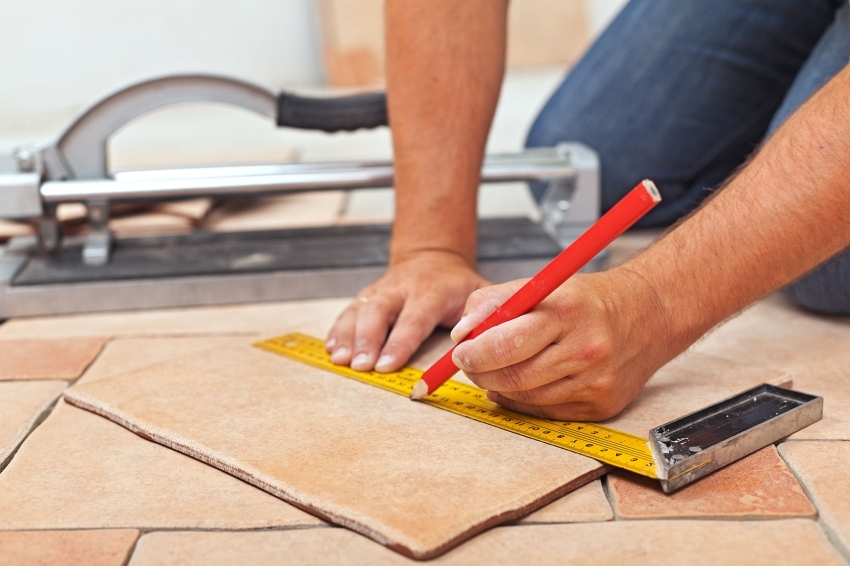
In the case of choosing a complex pattern, the tiles must first be cut to size, placed on the surface and, making sure that all joints are even, start laying
It is far from always possible to use a regular glass cutter for fitting, since manufacturers usually use a more durable material for the manufacture of floor tiles than for wall tiles. In addition, floor tiles are thicker, which means they will be more difficult to cut properly.
In this case, it is best to use a grinder that allows curly cutting, albeit with an uneven edge. All imperfections made as a result of such trimming can be eliminated with special forceps (nippers) manually.
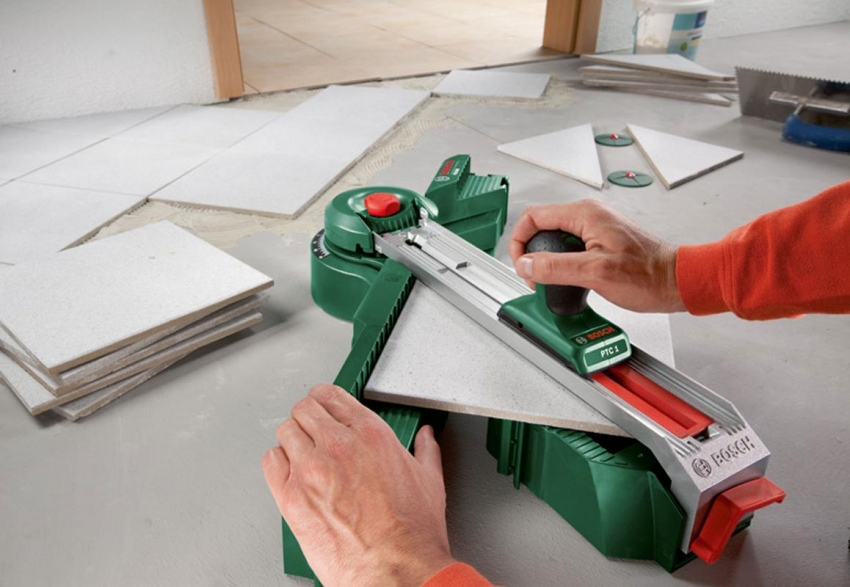
The most convenient option for cutting tiles is to use a tile cutter, since with its help all procedures can be done as quickly and firmly as possible, and the edges are smooth.
Important!Despite all the positive characteristics of a tool such as a tile cutter, it is impossible to cut a thin strip (less than 10 cm) with it. In this case, it is best to do it by hand using wire cutters.
It is very important not to forget about personal protective equipment, which must be present in the process of cutting tiles. Sharp pieces, which, in one way or another, will fly apart, can cause serious injury. Therefore, it is important to protect your eyes (and preferably your entire face) and wear tight clothing that can provide protection.
After all the necessary elements of the tile are cut and laid with an adhesive, it remains only to wait for drying and wipe the seams. How exactly this procedure is carried out should be considered separately in order to take into account all the subtleties and nuances. After all, it will depend on the final stage how long the coating will last, and how hygienic it will be to use.
Grouting tiles on the floor: what is it for
In order to pay due attention to the grouting of the joints between the tiles, it is necessary to understand how important this process plays in the issue of its further operation. First of all, it should be noted that the seams are the gap that remains between the elements after they are laid.
There are certain norms and rules that indicate the main guidelines on which you need to rely in the work process. So, the basic rule is that the wider the tile width, the larger the seam should be. It usually ranges from 2 to 5 mm.
The need for grouting is due to several reasons:
- over time, the walls undergo natural shrinkage, so some free space will be needed so that the tiles can move without damage to the surface;
- due to the presence of cracks in the dense cladding, the walls "breathe";
- the use of a special compound for grouting prevents moisture penetration, and hence the development of mold, fungi and simply the accumulation of dirt in the crevices;
- due to the presence of grout, the adhesion between individual fragments of the cladding is improved;
- grout has a significant decorative role. Correctly and neatly designed seams are able to mask minor defects in the tile, for example, notches and chips. In addition, grout can be used to hide the remaining mortar.
Thus, the service life of the floor covering, as well as how attractive its appearance will be, depends on compliance with the grouting technology. That is why it is worth considering in more detail on what principle it is worth choosing a mixture and how to carry out all the necessary work on your own.
How to choose the right grout mix
In order to avoid any problems during the grouting process, it is necessary from the very beginning to choose a mixture that is ideally suited in all respects. This seemingly insignificant nuance has an important role, therefore it is worth paying attention to the following aspects:
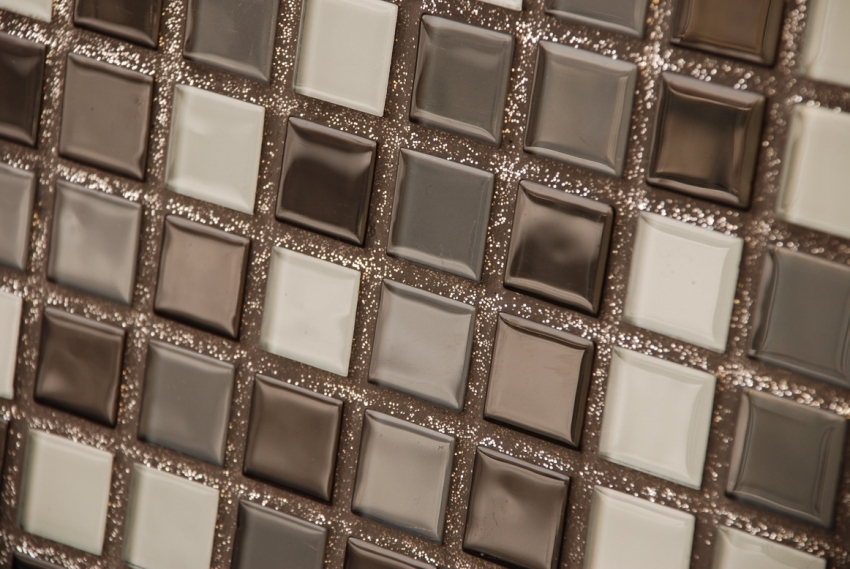
Grout color is the main criterion that most people pay attention to first. The color of the grout can both positively and negatively affect the appearance of the entire coating. A universal option that is almost always appropriate is white. But in combination with colored tiles, it will not give the feeling of a single canvas. For this. you can choose a grout shade that is as close as possible to the color of the tile. Contrasting colors are less commonly used, since it can be very difficult to choose the right combination.
Helpful advice! To achieve the desired shade of grout, you can simply add the required amount of color to the white base mix.
The composition and properties of the grout also play an important role. Depending on what components are included in the mixture, and it can be alabaster, gypsum, epoxy resins, Portland cements and others, the characteristics will also be different. Here you need to be guided by what conditions the material will have to face.
So, for rooms with high humidity, for example, when it comes to a bathroom, you need to choose formulations that include water-repellent components. If the surface is subject to serious stress, then you should pay attention to the wear resistance of the composition. The best solution is an epoxy mixture.
The composition of the grout will differ depending on which surface it is intended for. For example, when it comes to tiling the wall surface, a conventional grout is used, which can wear out over time under significant loads.For flooring, it is worth purchasing a more tenacious mixture designed for constant contact with shoes, pieces of furniture, etc. The main thing is that the structure of the grout is not loose.
Technology for preparing grout for tiles on the floor
Today, many different manufacturers are engaged in the production and sale of high-quality grout. Such a wide range allows you to choose the most suitable option for a particular situation. There are two types of grout on sale: dry powder and ready-to-use mass.
In the first case, the main difficulty is the dilution of the required amount of the mixture; it is not easy to immediately understand how much you may need. Therefore, the best option is to dilute the powder little by little, gradually using it as needed. Usually, manufacturers indicate on the packaging as accurately as possible how much water needs to be added to obtain the desired consistency, but you can also regulate this yourself, by eye determining whether you are tired of the result.
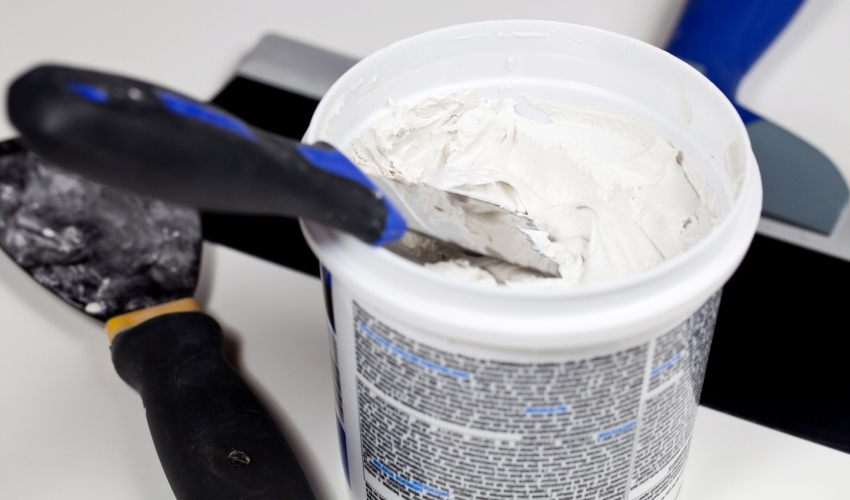
The second option is a mass that is completely ready for use. It can usually be purchased in cans or small buckets. The main advantage of this solution is the absence of the need to tinker with breeding on your own and the ability to carry out all the necessary work as quickly as possible.
The disadvantages of the finished mass primarily include a short shelf life. For this reason, leftovers that have not been used will most likely have to be thrown away. Given this, we can conclude that self-diluting grout from a dry mixture is more profitable.
If you want to even save on the purchase of grout, you can consider the option of home cooking. To do this, you can use alabaster, diluted with water to the consistency of a plastic mass. The main disadvantage of this option is a short operational period, since usually such grout crumbles quite a lot. You can add a gypsum mixture to strengthen, but this will only slightly improve the situation.
How to grout tiles: the technique of applying the mixture
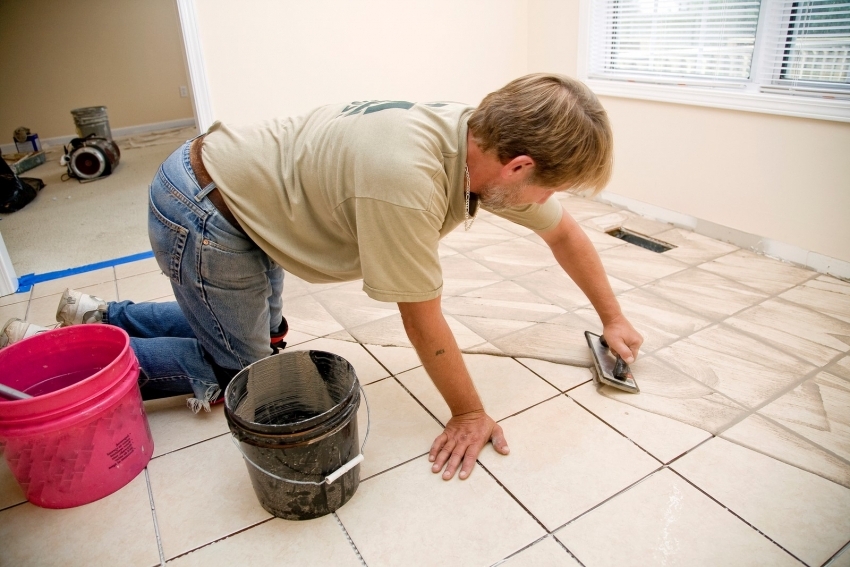
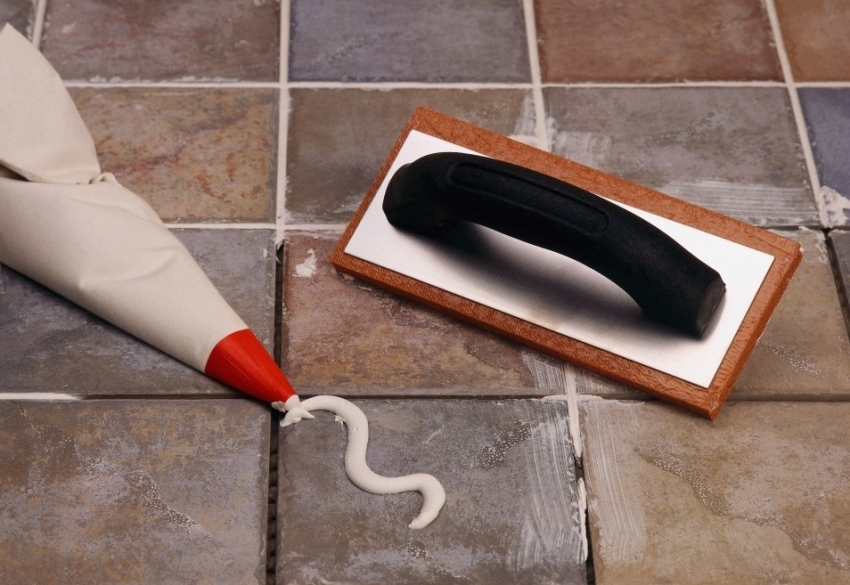
In order to apply the ready-made grout to the seams and bring all this into proper form, you will need a container into which the solution will be poured, a brush, a construction mixer, as well as a foam sponge and a small rubber spatula. It is best to dilute the grout gradually, in small portions and in a small container.
Helpful advice! The use of a mixer is justified only if you have to work with a large area. In all other cases, to obtain the desired consistency of the mixture, it will be enough to stir it with a spatula for some time.
The grouting procedure is as follows:
- Tile joints, with which you have to work, must be thoroughly cleaned of dirt, dust, as well as fungus. A special tool is provided for this.
- Using a brush pre-soaked in water, the seams are soaked to improve the adhesion between materials.
- Then you need to dilute a small amount of grout in a prepared container.
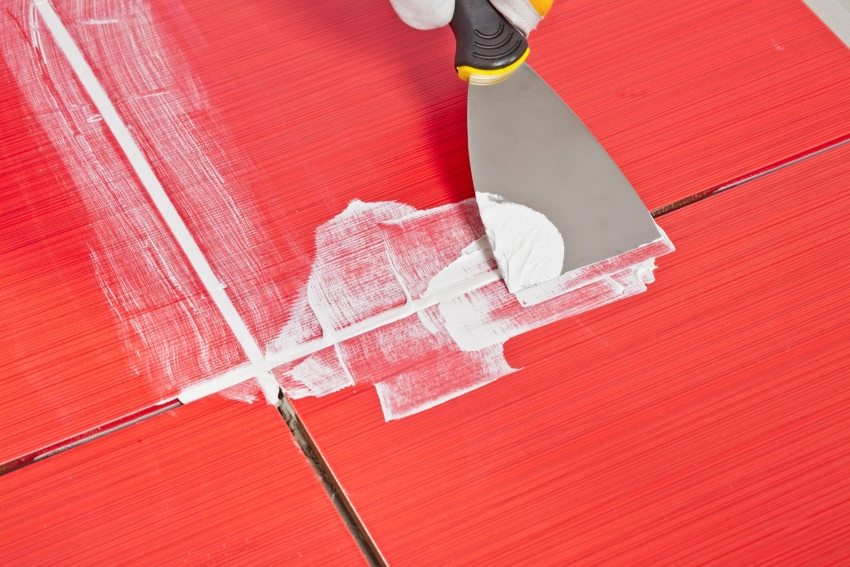
- Using a rubber trowel, the elastic compound is applied to the joint so that the gap is completely filled. In this case, additional compaction must be carried out in order to avoid the formation of voids.
- Any excess that has fallen on the tile can be easily removed using the same spatula.
- To prevent the appearance of cracks in the future, at this stage, the grout in the joints must be moistened with water.
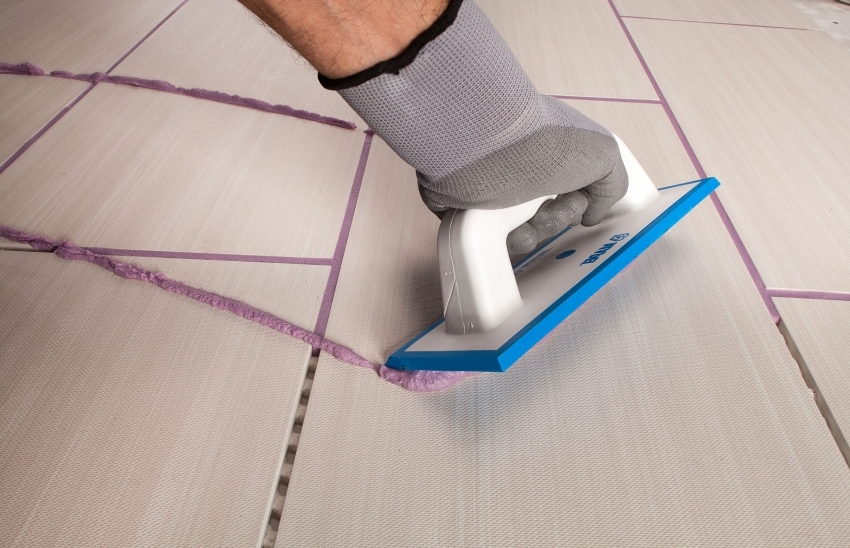
Depending on the color scheme of the chosen interior, with the help of grout, you can advantageously emphasize the originality of the tile laying
Important! In order to provide maximum protection against water and the formation of fungus on the surface, it is recommended to additionally seal the places where the skirting board will be laid.
You need to understand that the procedure for grouting joints on the floor and walls is somewhat different. And if, in the case of wall covering, the sealing of the seams should be carried out in the direction from top to bottom, then for the floor covering the rule applies - from the far corner to the exit. Before starting work, it can be extremely useful to watch the training video. In this case, the grouting of the floor tiles will certainly be carried out better.
In order for the grout to completely dry out, you must leave it for a day. And after that you can proceed to the final processing of the seams. For this, special antiseptic agents are used that can prevent the appearance of fungus and mold, protecting all vulnerable spots of the coating.
One way or another, when it comes to laying ceramic tiles on the floor, some moisture will accumulate on its surface and over time can begin to penetrate through the seams. To prevent this, use epoxy resin... Its application is the final stage of the joint sealing, which provides the maximum level of protection.
Final cleaning of the tile surface before use
In order to start using the coating that has turned out as a result of the work, it is necessary to give it an attractive and complete appearance. The main task is to eliminate as much as possible all traces of excess mortar and putty. And since mashing the seams is usually carried out in several approaches, since the mastic tends to partially sag as a result of drying, the surface should be cleaned only at the very end.
In order to effectively clean the surface, you will need a foam rubber sponge moistened with water. The tile must be wiped off so that the grout on the surface of the tile is slightly soaked. Then, using a scraper or the same spatula, you can remove all excess. All stains can be easily washed off with a damp cloth or sponge.
Helpful advice! If the relief tile was laid, then it will be quite difficult to clean it with a sponge. In this case, it is best to use an old toothbrush.
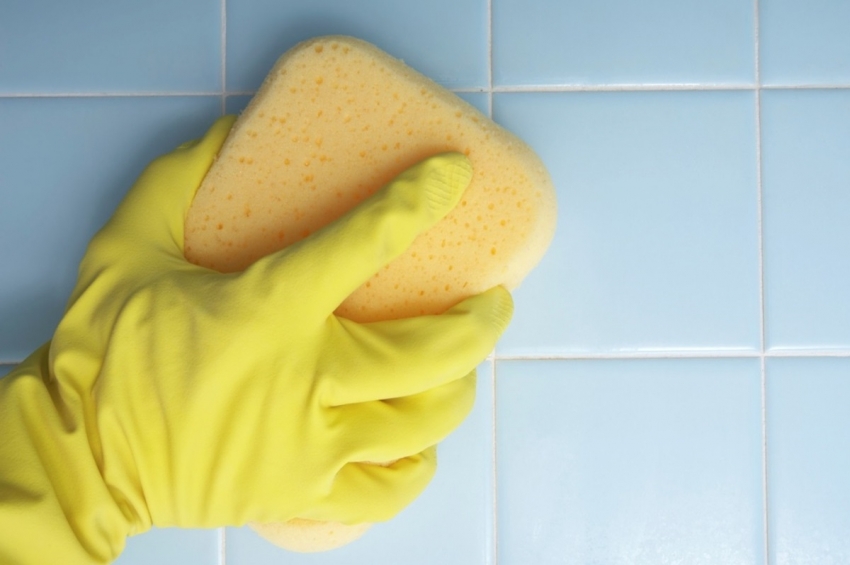
After the grout has dried, the rest of the compound must be removed from the tile surface with a damp sponge.
It is best to clean the surface before final drying of the grout, as it will become very problematic to soften it after that. Of course, even in this case, it is possible to completely remove the excess, but the process will take much longer and require a lot of effort.
It is necessary to scrape off completely dried putty very carefully, since it is very easy to damage the tile surface, especially if the tile surface is glossy. As for the embossed surface, it will be almost impossible to remove dirt here, so you need to do this as soon as possible.
Tile maintenance recommendations
It may seem like knowing how to lay tiles on your bathroom floor is enough to get a beautiful, durable finish. But in fact, it is the constant care that is the key to the long service life of the tile.
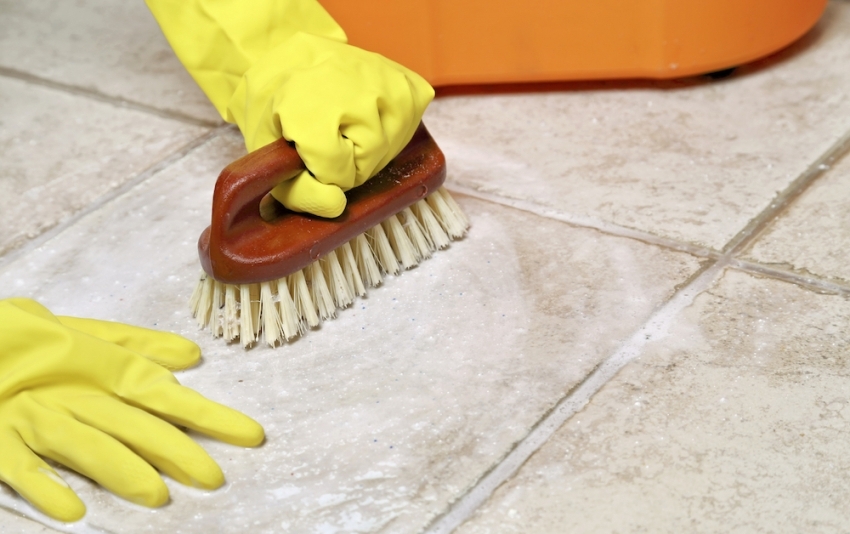
In order to prevent microorganisms and fungi from multiplying in the seams of the floor tiles, it is worth regularly disinfecting the surface.
In this case, you need to learn two fundamental rules:
- Only regular cleaning of the joints can guarantee the absence of pathogenic bacteria and fungi. Floor tiles should be cleaned at least once a month.How exactly to do this, everyone decides for themselves: you can resort to using special detergents or soapy water, you can also use vinegar or lemon. Bleach is suitable for surface disinfection. In addition, the steam cleaner will perfectly cope with the task of cleaning.
- If possible, you should keep the remains of the grout in order to be able to perform regular grouting, which, one way or another, will be needed. This re-grouting is done as needed if old joints have darkened and cracked. In this case, the old putty is cleaned, after which the seams are treated with an antiseptic, and a new layer is applied. If you also need to remove the sealant layer, you can do this with a blade.
By following these simple recommendations, and regularly paying attention to the condition of the tile, you can significantly extend the service life and keep it in its original appearance. It will also be useful to read online recommendations and user reviews on how to clean the joints between the tiles on the floor. You can often find useful ideas and tips on the forums.

If the composition of the grout begins to crumble, it is better to quickly fill the gaps with a new layer in order to extend the life of the tiled coating
How much does it cost to put tiles on the floor: prices for services
If, after you have fully familiarized yourself with how to properly lay tiles in the bathroom, the task still seems too difficult for you, it may make sense to seek professional help. Experts know exactly how to properly lay tiles in the bathroom, kitchen or corridor by any method and will cope with the task as quickly as possible.
So, it remains to find an offer at the most affordable price. Many craftsmen offer to lay tiles on the floor, but this service should not cost less than 550-600 rubles per 1 m². Of course, there is a huge number of craftsmen, whose services are much more expensive, so the choice here is solely for the customer.
In any case, it will be useful to familiarize yourself with the pricing policy, and if such a cost seems excessive to you, then you can always read the instructions again, watch the video about laying tiles on the floor and try to do everything yourself.
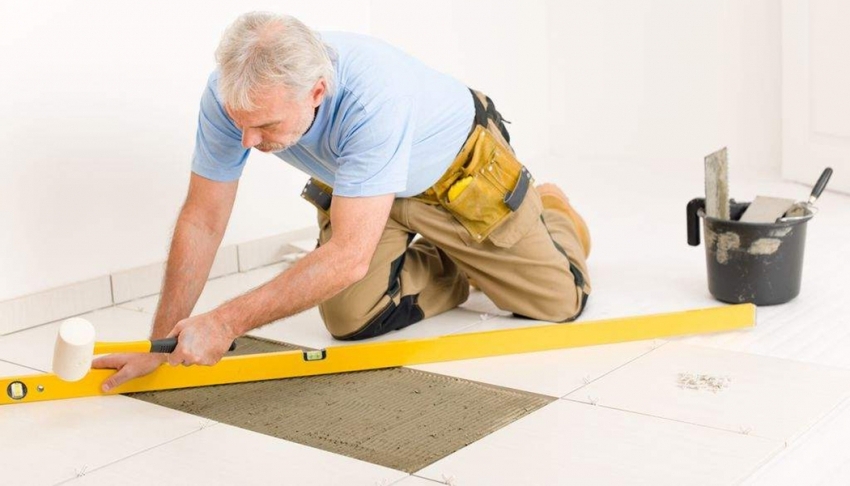
If the repair of the flooring needs to be done as soon as possible, it is better to call a specialist for laying ceramic tiles.
Tile laying technology in the bathroom: video instruction
Having familiarized yourself in detail with how to lay tiles on the floor, as well as how to properly grind the joints on the tiles, in most cases you can start working without hesitation. However, it can be very useful to watch the training video, which demonstrates in detail each stage of the work and provides useful recommendations from experts in this matter.
